

Erin Swain has been writing about her experiences learning to snowkite and is now transitioning to the water. We will continue to bring you updates from Erin about her experiences throughout the season. You can follow Erin’s blog at https://kiteboarder3.wpengine.com/tag/erin-swain/
After kiting with Allison, I heard that Scott was on his way over to Jockey’s Ridge. I was stoked because I had been walking upwind all day and was ready to do a bonafide downwinder without worrying about staying upwind. Scott arrived around 5:30pm, so I threw my gear in his car and we drove down about 3 miles south.

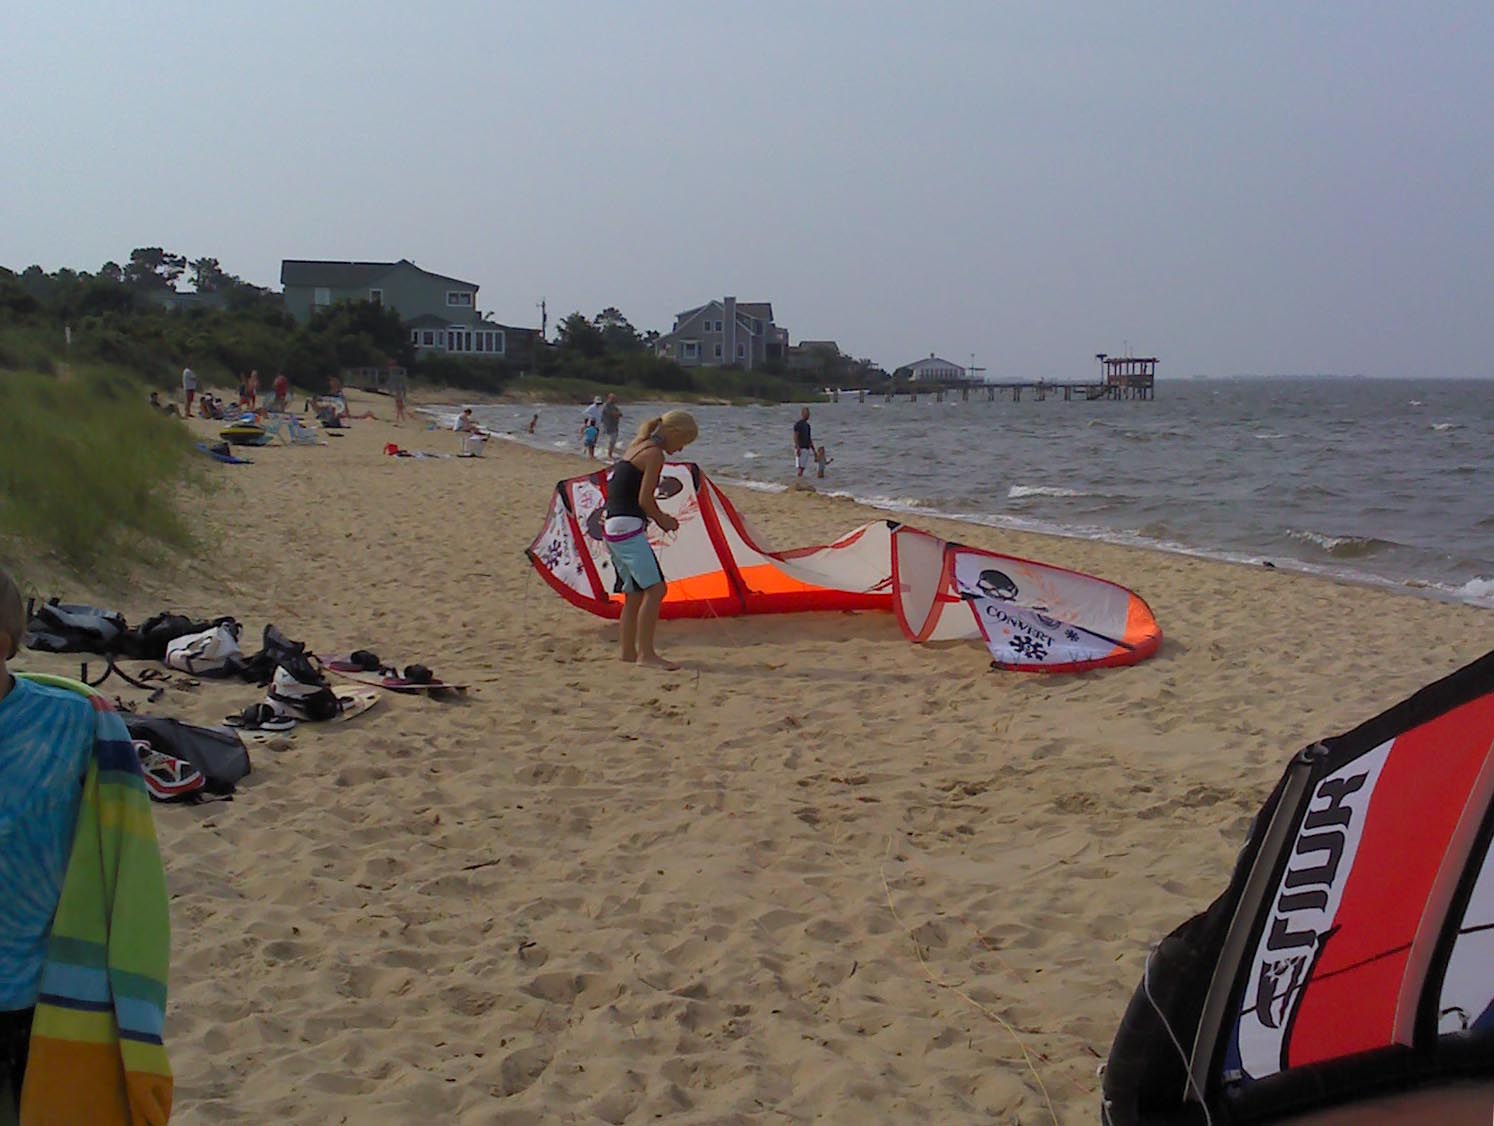
The wind had been steady and I was feeling confident on my 7m. We walked down the narrow beach behind the nags head golf course, treading lightly through shallow water, trying to avoid roots and oystershells that would sure ruin a session if you got your foot cut up on.
I already felt more comfortable running out my lines downwind of my kite (because I had done it earlier that day self sufficiently). I remembered to put the red side on the right since I was downwind of the kite and once the kite was flipped up the bar would also be flipped over. It’s crazy how this thinking becomes second nature when I remember a short time ago how all the gear was greek to me. I do still think about the bar and visualize which way it flips and which way the kite flips so I can make sure I have a good understanding of my gear.
Scott tells me that he knows I am excited to just get out there and kite since the wind is good, but for safety purposes we must first practice a self rescue. I had a vague recollection of my teachers going over this, but I had never performed one.
Scott was great at explaining how the lines were all the same length and this is what holds the kite in the “C” shape. Then he explains the ”˜flag in the wind’ if the kite is only attached by one line. This is why you attach your safety leash to one line. For my bar system, I attach my safety to the outside line. (There are two little metal rings, so you need to make sure your clipped into the right one before your start your session). So, you really need to pay attention and understand your gear and how it works. Then we went over how to drop the bar and then release the chicken loop from your harness.
Next you carefully (watching not to wrap any part of the line around you fingers or wrists or any body part) walk down that one line, pulling the kite towards yourself. It’s important to keep all the lines downwind of your body. It’s helpful to shuffle your legs so you can feel all the lines so you don’t accidently get one of them upwind of your body.
Once you arrive to the kite, you simply grab it by the leading edge, flip it over into a “U” shape, and walk it in (if you can stand). Your lines may get knots, but its way better to be safe back at home running your lines out in your driveway than injured.

After completing the self rescue, I felt I had a really good understanding of how to perform one. It felt like ages ago since I had been shown on a diagram about this skill. Practicing it was way more useful than someone explaining it. Big Thanks to Scott again for keeping safety of paramount importance.
After this, we did go on a downwinder. The wind lightened up a lot, so I didn’t practice any transitions, I just concentrated on keeping the kite in the air and having fun. I did great and even landed to someone on the beach at Jockey’s Ridge. This was a very successful fun day. I am super excited to go again in more wind!